
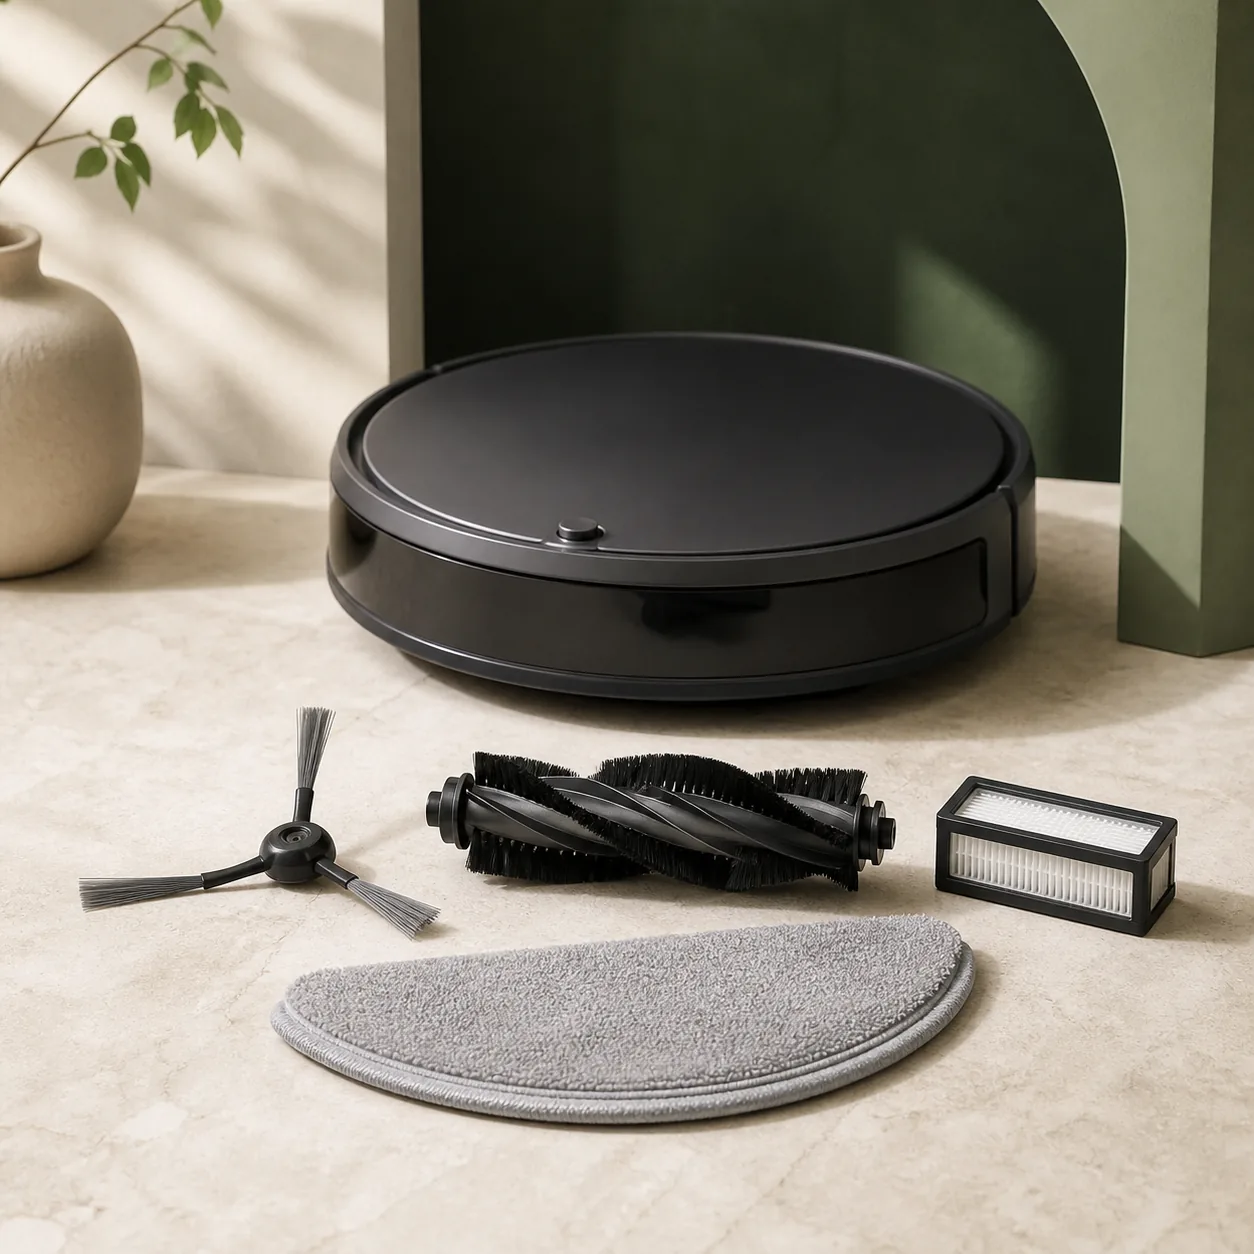
Models covered
Poor pickup is not enough to diagnose a failed suction motor. First observe whether debris remains across the whole floor, only beside walls, or directly behind the robot. Whole-path loss points first to the dustbin, filter and main brush; an edge-only loss makes the side brush more relevant. The covered Rowenta X-PLORER, Roborock Qrevo and eufy Omni/X models do not all use the same brush, cover or filter, so the complete model code must be checked before anything is removed or ordered.
Rowenta's official Series 60 cover page shows the access cover for RR7427WH, RR7447WH and RR7455WH, while its Series 220 page tells owners to switch off before opening the latches and to clean the main brush regularly. Roborock's QV/QR/Qrevo manual gives a separate maintenance sequence: remove the cover, clean hair from the brush ends and bearing, empty the bin and clean the washable filter only as directed.
Eufy's official support keeps its families separate as well: E25/E28, S1 Pro, S2, X10 Pro Omni and X9 Pro each have their own manual or maintenance route, and the X10 instructions require the dust box, filter, rolling brush and guard to be completely dry before use. These shared checks stop at removable user-maintenance parts. They do not justify opening a motor module, wetting contacts or treating a family accessory as universally compatible.
Before checking Robot vacuum
- Power off before touching brushes, wheels, filter or bin; keep charging contacts and motor openings dry.
- Do not force a cover, cut toward the brush body or run the robot with a wet filter or missing guard.
What this symptom can mean on Robot vacuum
5 checks for Robot vacuum, starting with Record the exact model and symptom
- Record the exact model and symptom
Photograph the rating label and note whether loss affects the centre, edges or auto-emptying before changing anything.
- Switch off away from the dock
End the job, power the robot off and place it upside down on a protected, stable surface before opening a brush cover.
- Clean only the exact removable brush
Release the documented latches, remove visible hair from the roller ends and bearing, and keep blades, water and solvents away from the robot.
- Empty the bin and follow the filter label
Empty dry debris. Wash a filter only when the exact manual calls it washable, use clean water alone and reinstall it only after full drying.
- Reassemble and run one short test
Lock the cover fully, refit the bin and test a small known area once. If pickup or noise is unchanged, stop and use exact-model support.
When to stop checking Robot vacuum
- Arrange service if the brush or wheel remains locked, a red error returns, the motor smells hot or dust reaches an electrical compartment.
- If the short test does not isolate the loss, do not buy a motor from the symptom alone; contact support with the full model code.
Next step
Choose the next step for Robot vacuum
For “Robot vacuum cleans poorly or leaks dust: check brush, bin and filter”, base the decision on the documented sequence beginning with “Record the exact model and symptom”, not on the warning or symptom alone.
Start with Record the exact model and symptom
Work through all 5 checks for Robot vacuum. If normal operation returns and no warning sign remains, the diagnosis ends without ordering a part.
Stop the Robot vacuum check at a warning sign
Use the stop conditions above for “Robot vacuum cleans poorly or leaks dust: check brush, bin and filter”. A qualified diagnosis should come before replacing the appliance whenever repair safety or feasibility is uncertain.
Sources used
- Rowenta · source in French — Rowenta identifies the brush cover and explicitly lists RR7427WH, RR7447WH and RR7455WH.
- Rowenta · source in French — Rowenta tells Series 220 owners to switch off before opening the latches and clean the main brush weekly; RR9475WH is listed.
- Roborock — The official QV/QR/Qrevo manual gives brush, bin, washable-filter and poor-cleaning checks plus exact stop conditions.
- Eufy — Eufy's UK support identifies T2353 Omni E25 and publishes E25/E28 mopping, emptying and accessory-maintenance routes.
- Eufy — Eufy's exact T2080 S1 Pro support page provides the user guide and a dedicated cleaning-and-maintenance route.
- Eufy — Eufy's UK product support identifies the Omni S2 T2081 and keeps its manual and troubleshooting separate from S1 Pro.
- Eufy — The official X10 Pro Omni T2351 manual details dust-box, filter, rolling-brush and guard cleaning and requires full air-drying.
- Eufy — Eufy's X9 Pro alert guide distinguishes brush obstructions, missing bin or filter and suction-inlet blockages by exact voice error.
Last checked: 1 September 2026