
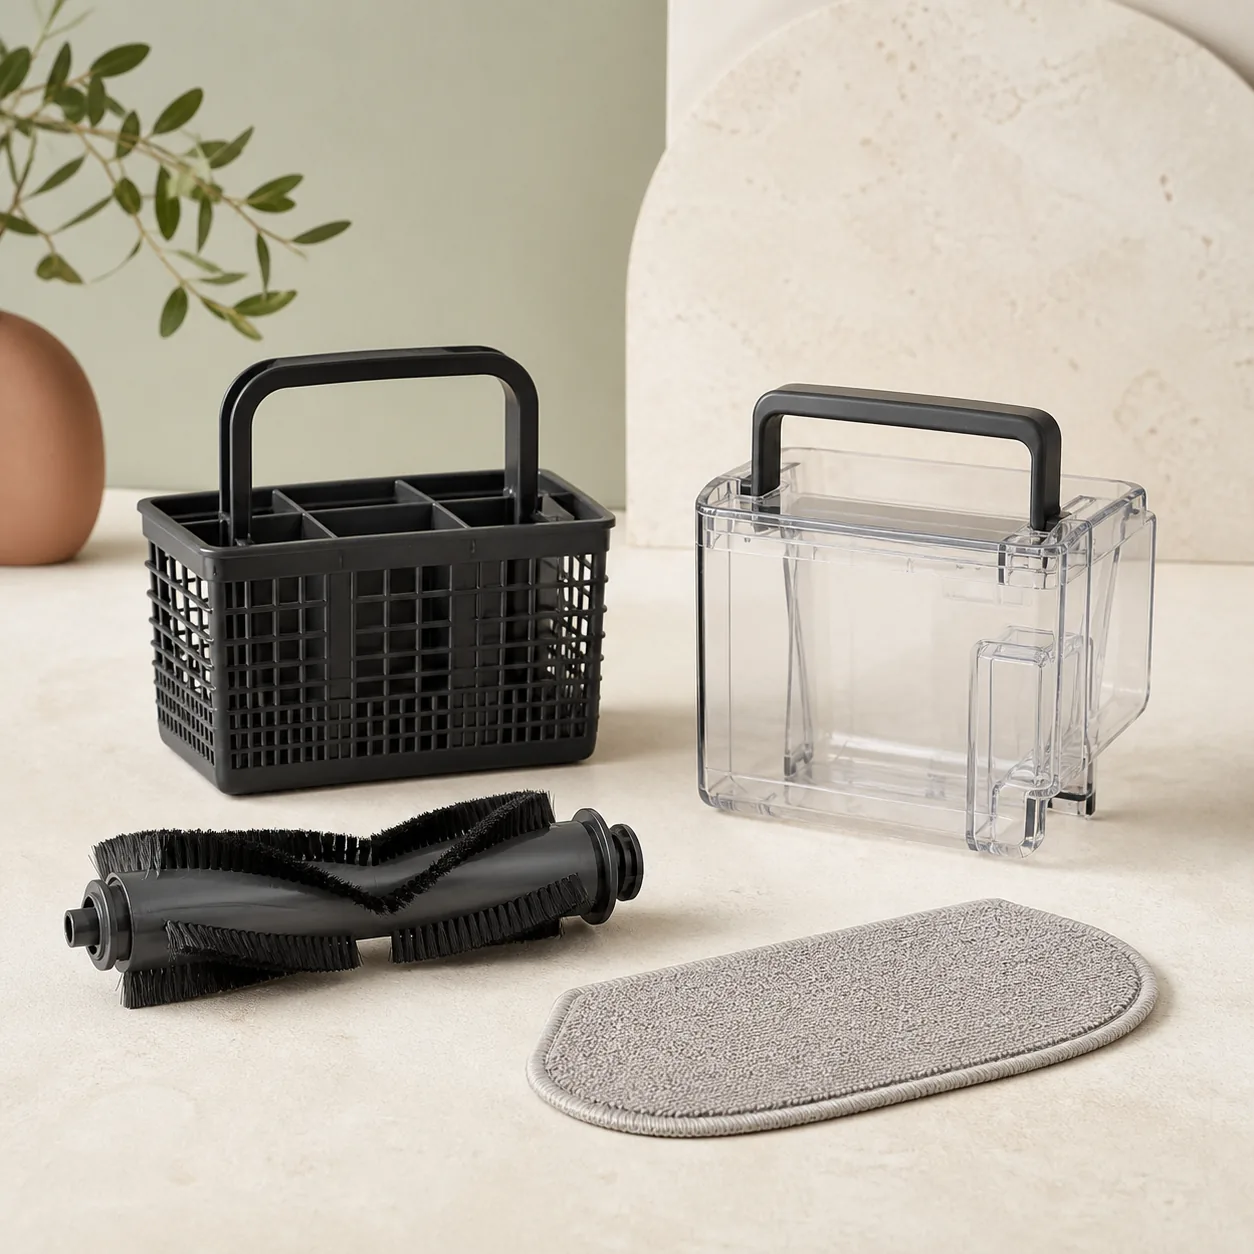
Models covered
Separate tank seating, liquid flow, suction and brush drive before ordering a part. Empty dirty water, keep electrical areas dry and run only the short test described for this exact model family. What the alert means: An overfilled tank or incomplete latch loses its seal during movement, while displaced hair filters can redirect water away from collection.
What to distinguish first: Dry the outside, then locate whether leakage starts at the tank seam, latch or above the tank near the hair filters. 1. Confirm the exact symptom — An overfilled tank or incomplete latch loses its seal during movement, while displaced hair filters can redirect water away from collection. 2.
Prepare safely — Switch off, unplug the charger and empty both tanks before removing a roller, filter or floorhead cover. 3. Apply the official check — Empty the dirty tank below its maximum mark, clean the sealing surfaces, refit both hair filters and lock the tank firmly. 4. Interpret one retest — Roll the machine briefly over a dry floor. The official Kärcher procedure identifies this exact symptom and supports the checks above.
Before checking Kärcher FC 7 Cordless
- Keep the charging port and motor vents dry, and never clear a blockage while the appliance can start.
What this symptom can mean on Kärcher FC 7 Cordless
4 checks for Kärcher FC 7 Cordless, starting with Confirm the exact symptom
- Confirm the exact symptom
An overfilled tank or incomplete latch loses its seal during movement, while displaced hair filters can redirect water away from collection.
- Prepare safely
Switch off, unplug the charger and empty both tanks before removing a roller, filter or floorhead cover.
- Apply the official check
Empty the dirty tank below its maximum mark, clean the sealing surfaces, refit both hair filters and lock the tank firmly.
- Interpret one retest
Roll the machine briefly over a dry floor. If the empty undamaged-looking tank still leaks, stop and contact Kärcher.
When to stop checking Kärcher FC 7 Cordless
- Stop for a damaged tank, battery heat, electrical smell, persistent leak or an error that returns after one clean test.
Next step
What the Kärcher FC 7 Cordless checks lead to
The 4-check path for “Kärcher FC7 leaks dirty water from the tank” starts with “Confirm the exact symptom” and separates a resolved condition, an identified part and a case requiring service.
No purchase after a successful check
Follow the Kärcher FC 7 Cordless controls in order. If “Confirm the exact symptom” and the remaining checks restore normal operation with no warning, stop without replacing anything.
Escalate only on the documented warning signs
For “Kärcher FC7 leaks dirty water from the tank”, use the stop conditions above rather than the symptom by itself. Professional confirmation should precede any decision to replace Kärcher FC 7 Cordless.
Sources used
- Kärcher — The official Kärcher procedure identifies this exact symptom and supports the checks above.
Last checked: 30 August 2026